Commercial Grade
LED PAR Lamps
A high-quality LED bulb suitable for enclosed fixtures.
Our Performance Series LED PAR lamps are designed for commercial recessed corridors and high-power floodlighting. With lumen outputs up to 2100 lm, they deliver as much light as legacy equivalents using far more power – while offering up to 75% energy savings.
Power Select
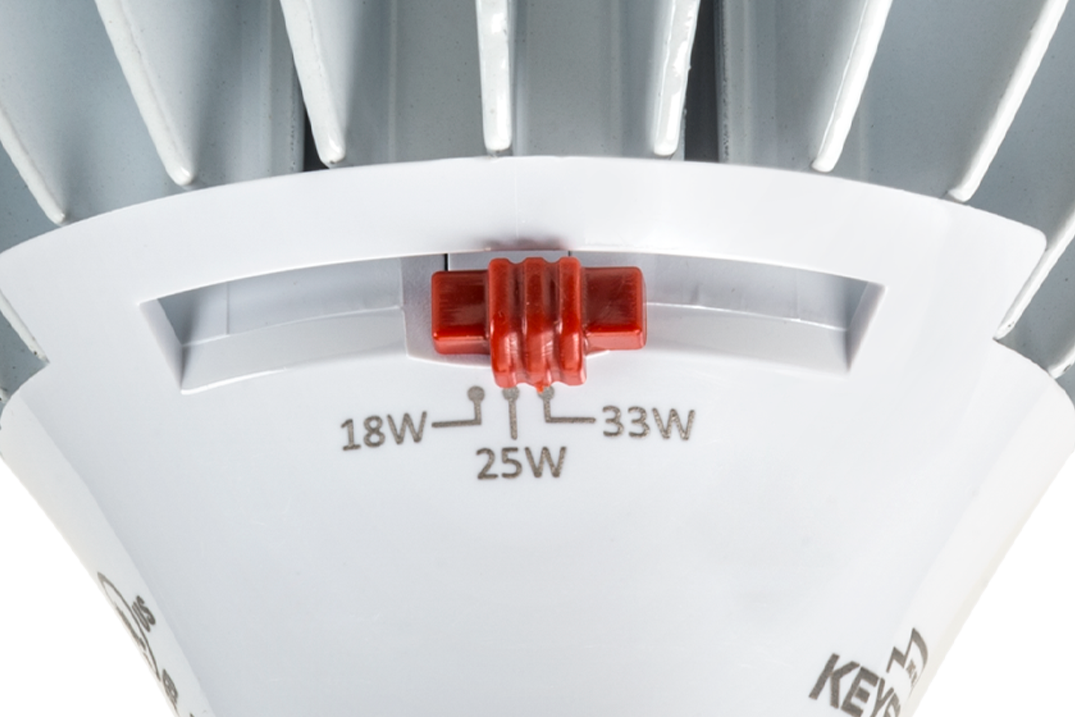
Our bulbs feature Power Select, so you can choose from three different power outputs to meet your needs just by flicking a switch.
Flexible applications
These lamps are UL listed for damp and wet locations and are suitable for open, recessed, and enclosed fixtures, meaning they can be used in a variety of settings: for spotlighting, display lighting, and numerous outdoor applications.

Durable longevity
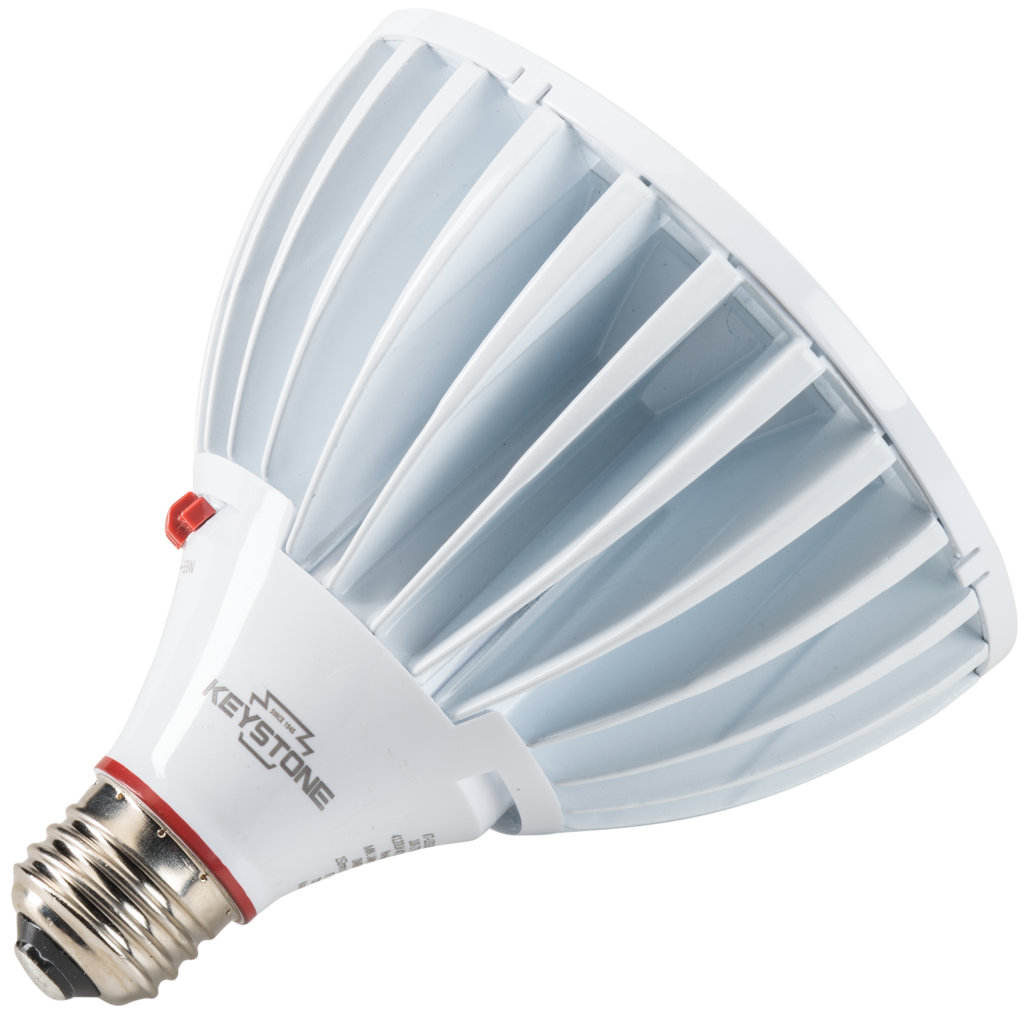
Our PAR lamps feature a durable plastic housing to lower the risk of breakage. Performance Series LED PAR lamps have a 50,000-hour lifetime and Power Select models have a 25,000-hour lifetime, so maintenance is kept to a minimum.
CEC and Title 24 compliant
HiCRI bulbs are CEC Title 20 compliant and Title 24 JA8 compliant. They feature up to 80% energy savings over legacy equivalents.
Precision construction
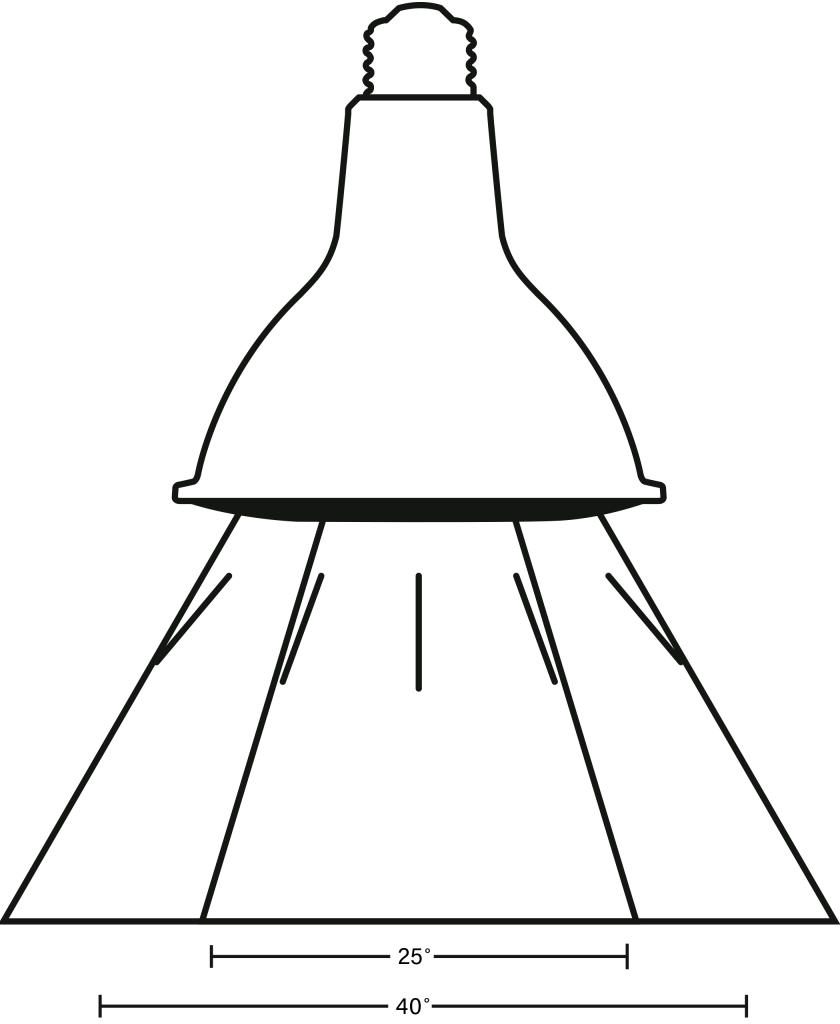
Dedicated Performance Series PAR lamps are available in both 25° narrow flood light beam angle and 40° standard flood light beam angle options. Power Select models have a 44° beam angle. A precision lens construction ensures an accurate beam angle for optimal performance.
Socket base adapter
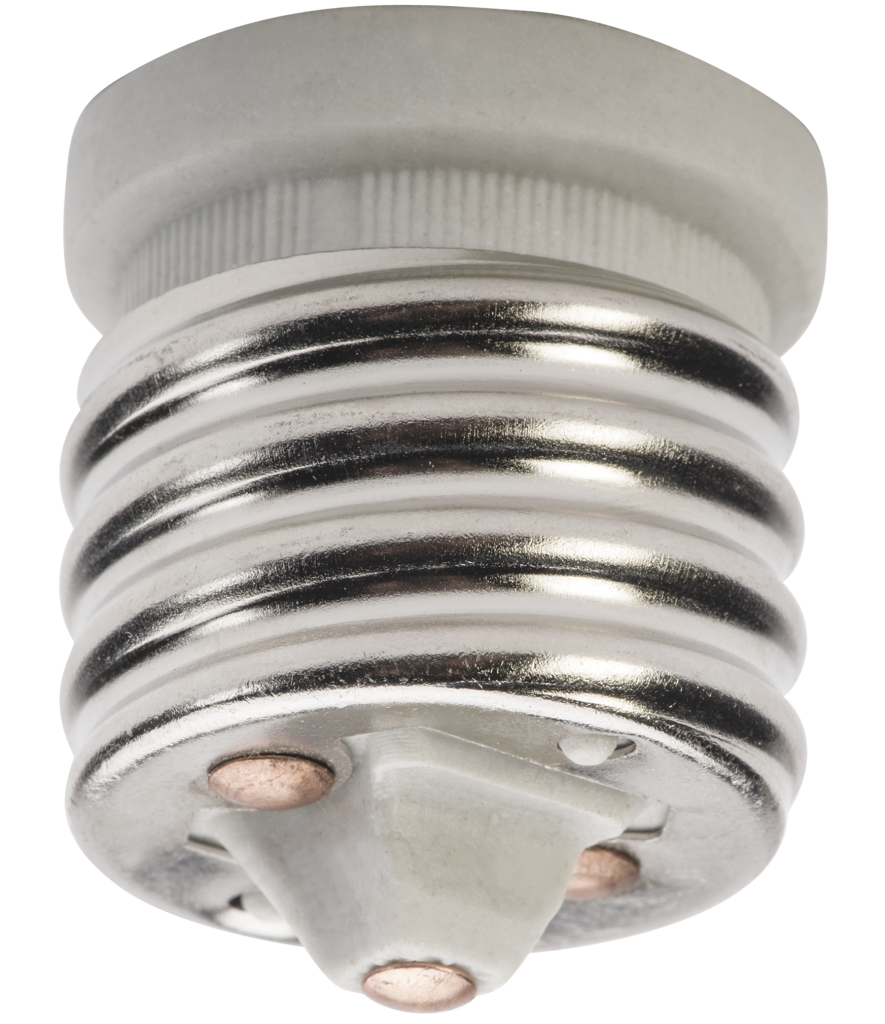
Turn your E26 base into an E39 with our socket base adapter.
