Exit Signs and Emergency Units
Versatile solutions to support safety, inside and out.
Keystone exit signs and emergency lighting units feature a wide range of options and accessories, customizable to meet the full scope of your project needs. Whether it’s the color of the lettering, the shape of the lamps, or ensuring code compliance regardless of jurisdiction, our products can meet your needs.
And with all major components by Keystone, you get guaranteed performance and reliability. Just another way we give you Light Made Easy®.
Exit signs
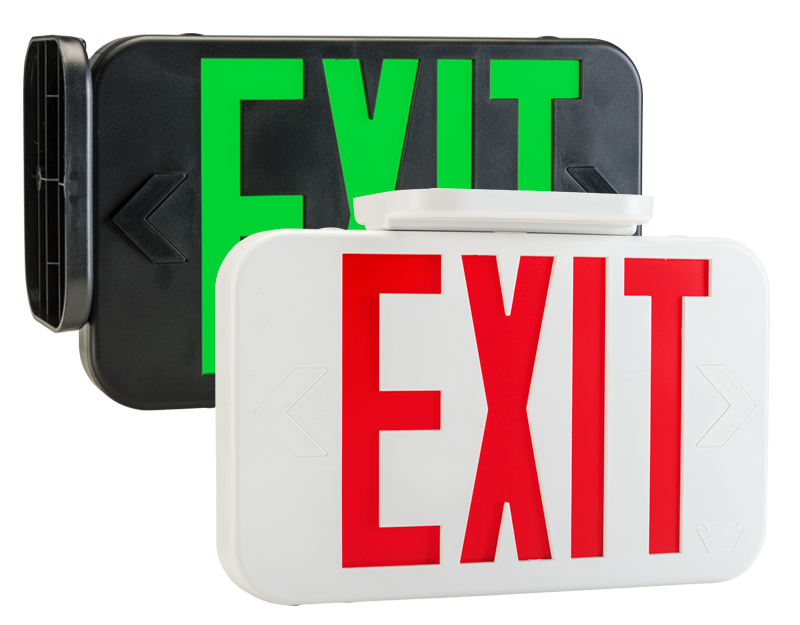
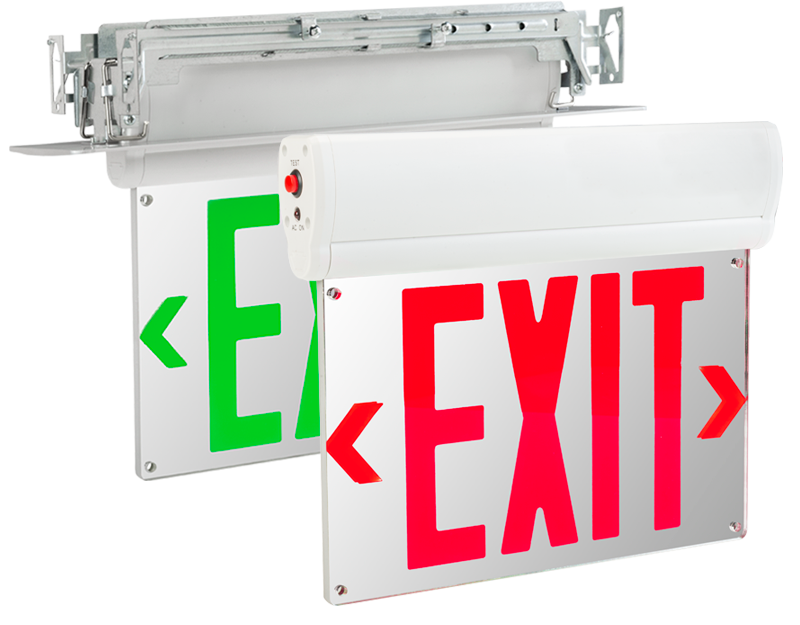
Our exit signs are designed for a wide variety of spaces and requirements. Standard exit signs feature swappable red and green color inserts, switchable diffusers, and single- or double-sided facing. Edge-lit exit signs offer sleek mirrored backing and removable direction arrows. Both offer multiple ways of mounting, have a battery with at least 90 minutes of backup, and are available in New York and Chicago code-compliant versions.
Combo units
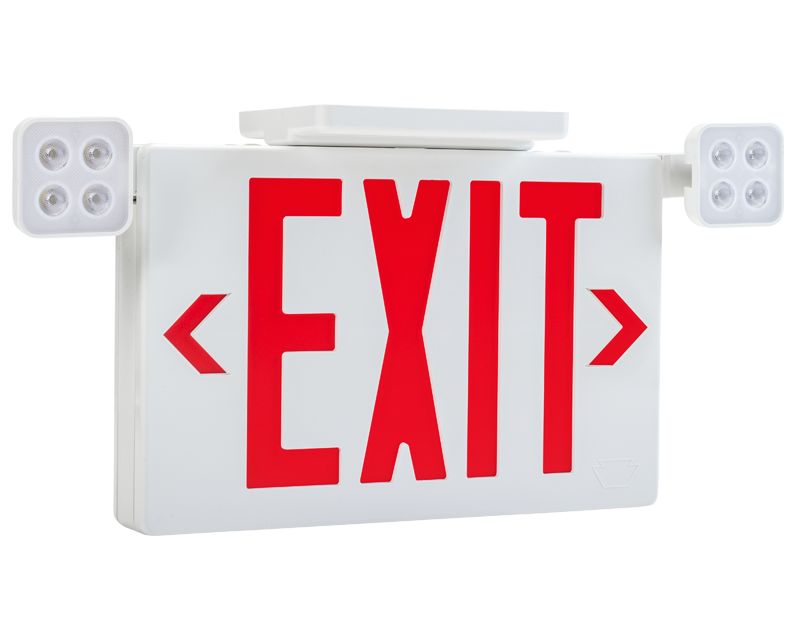
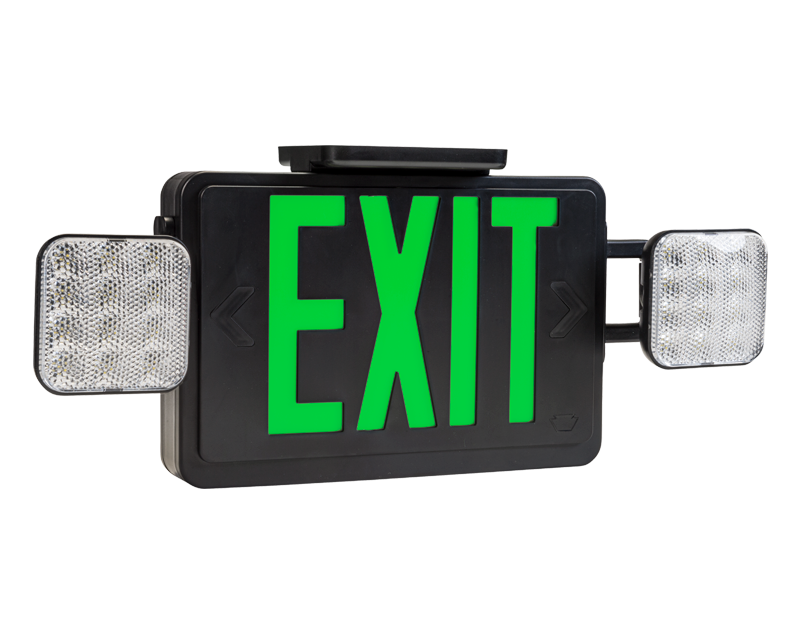
Keystone combines our exit signs with emergency lighting in a combo unit with rugged construction, strong lighting, and easy installation. Units feature positionable dual heads and multiple mounting options. They’re available in New York and Chicago code-compliant versions, as well as a waterproof model.
Emergency units
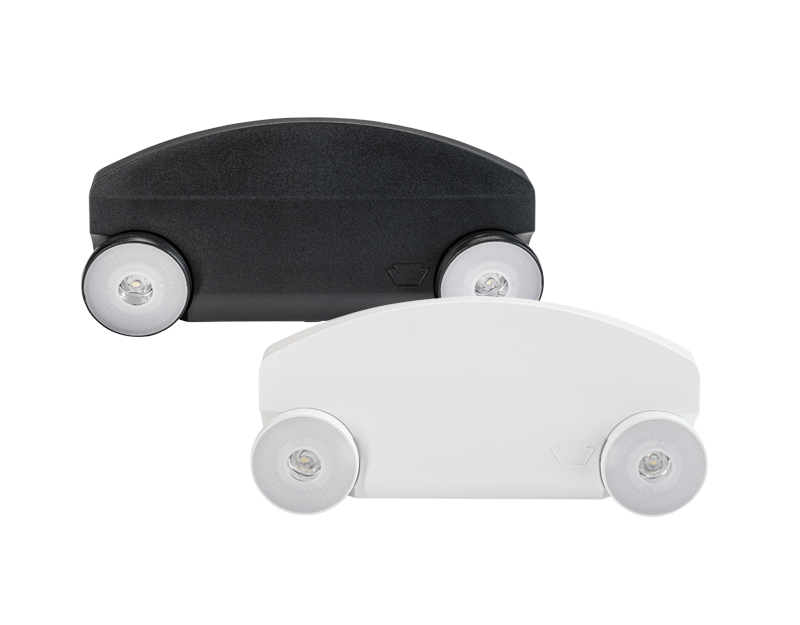
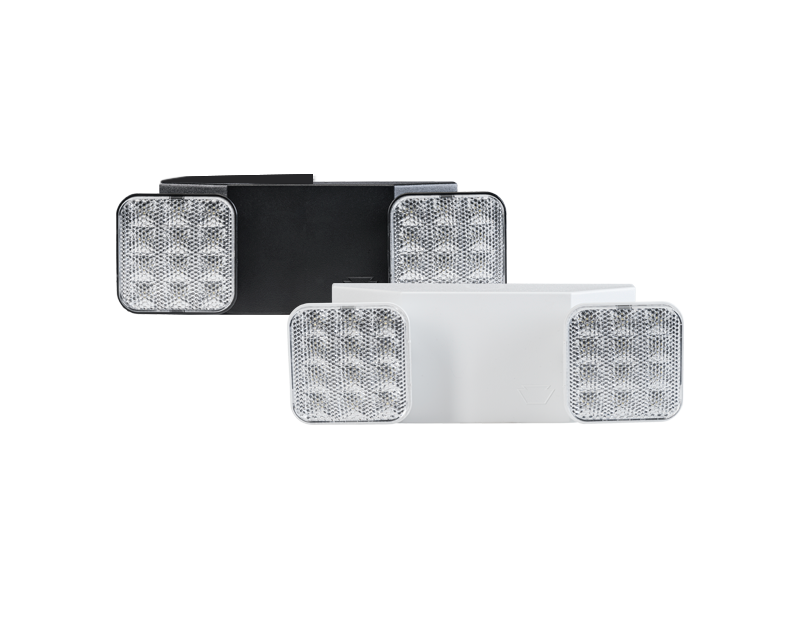
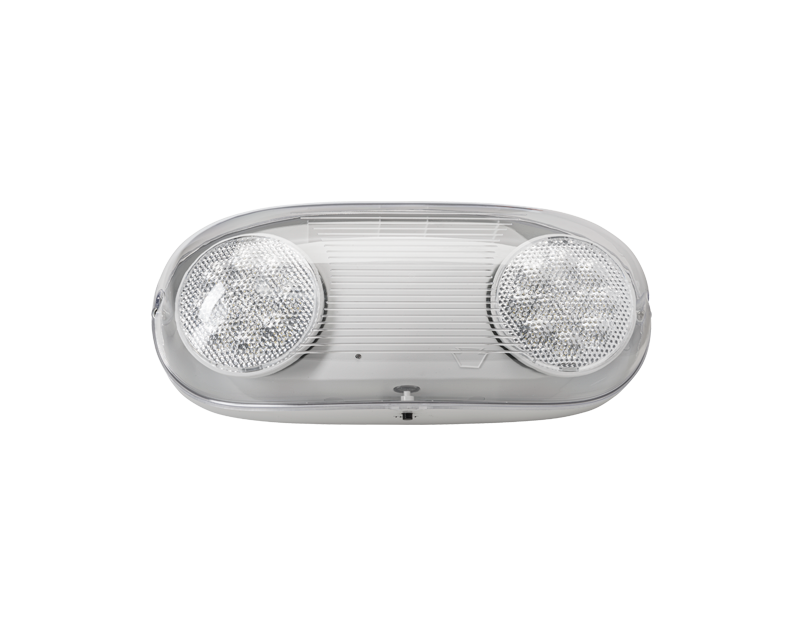
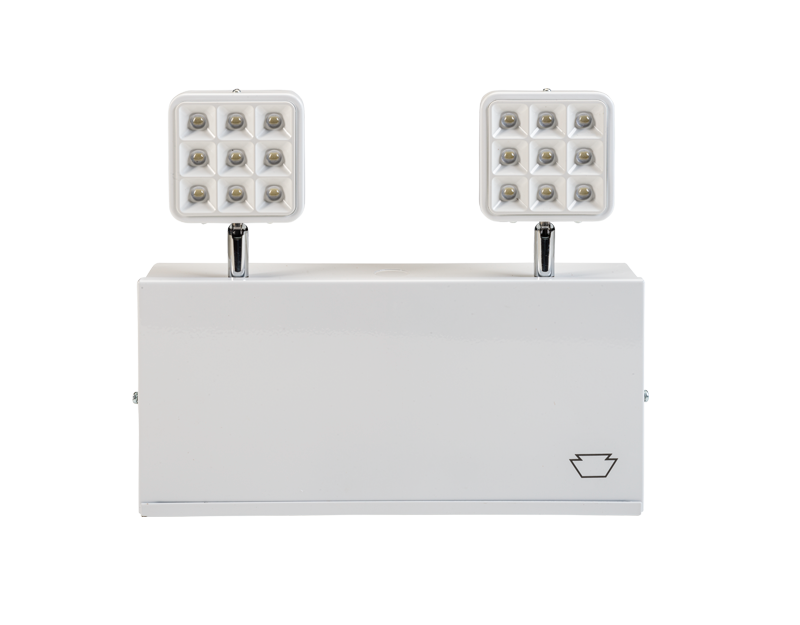
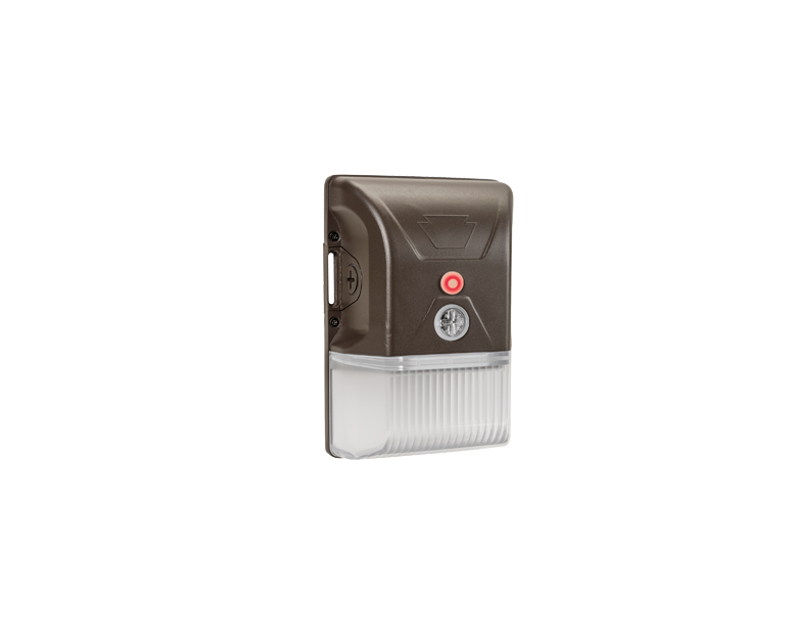
Available in versions with both round and square lamps, our emergency units feature all Keystone components for outstanding performance and reliability, including bright LED lighting for simple wayfinding and powerful batteries for longevity. Units are remote-capable, and all are available in New York and Chicago code-compliant models. Outdoor units have the same performance features as indoor units, as well as being UL Listed for Wet Locations and IP65 rated to withstand the elements.
A complete portfolio
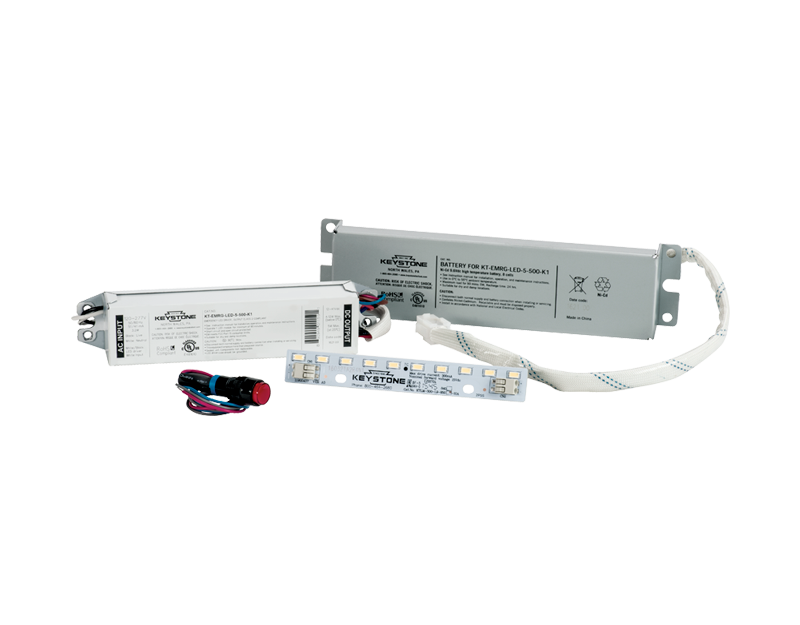
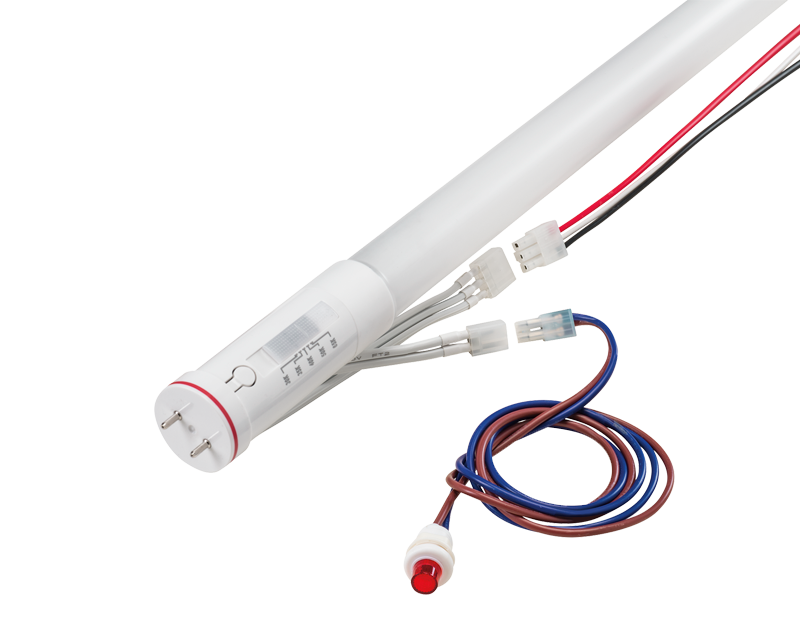
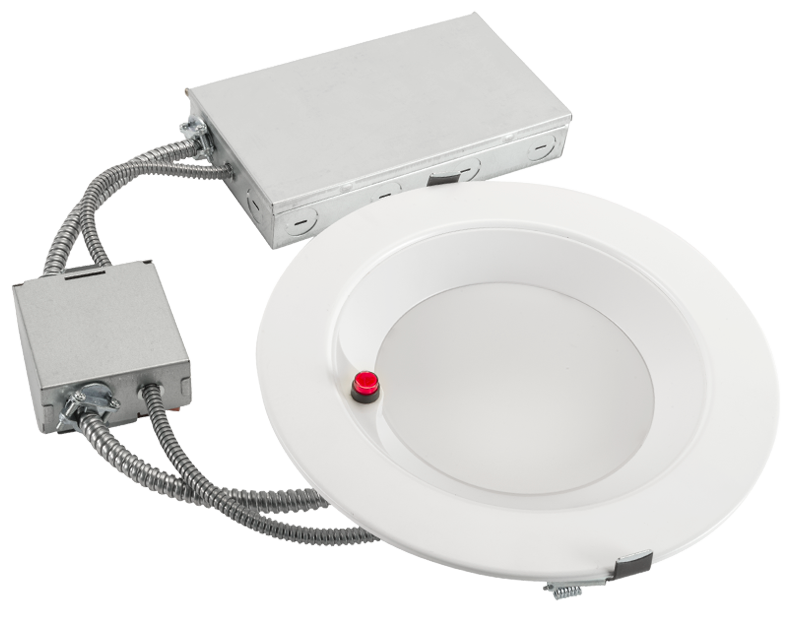
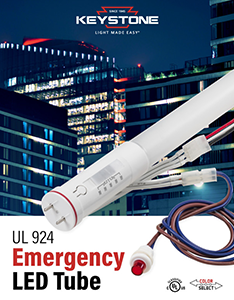
Our emergency solutions don’t stop at the exit sign. Keystone carries a range of SmartSafe emergency backups, fixtures with emergency capabilities, replacement units, and our Emergency Tube – a true UL 924 Certified emergency tube.
