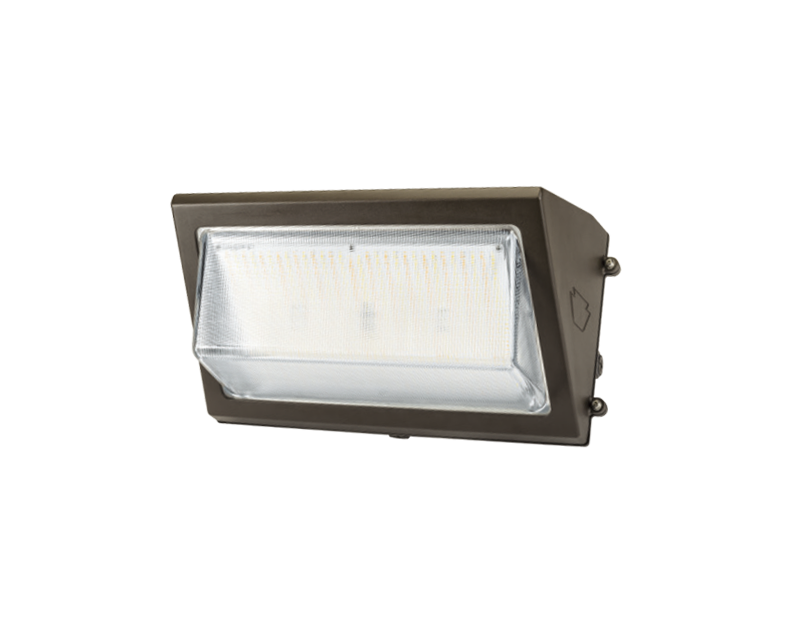
Adjustable
Wall Packs
A rugged light with an adjustable axis that directs illumination
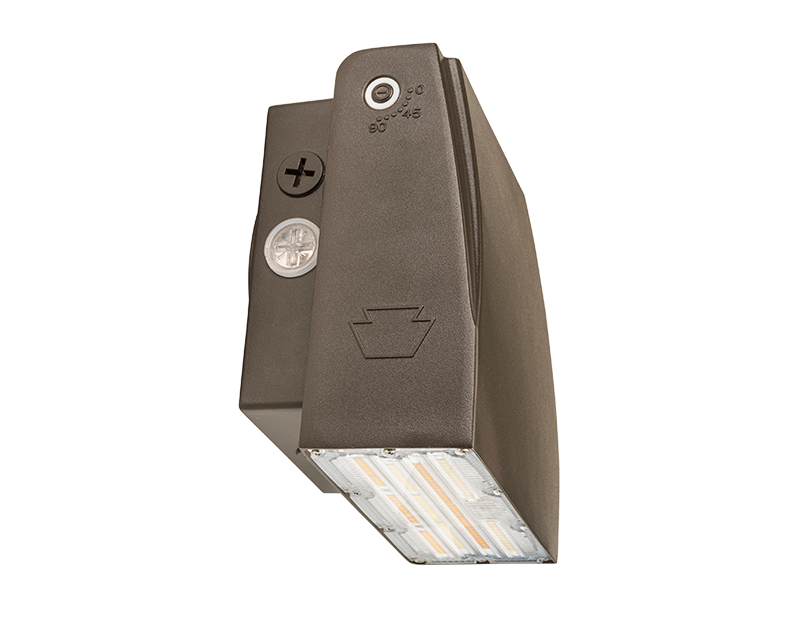
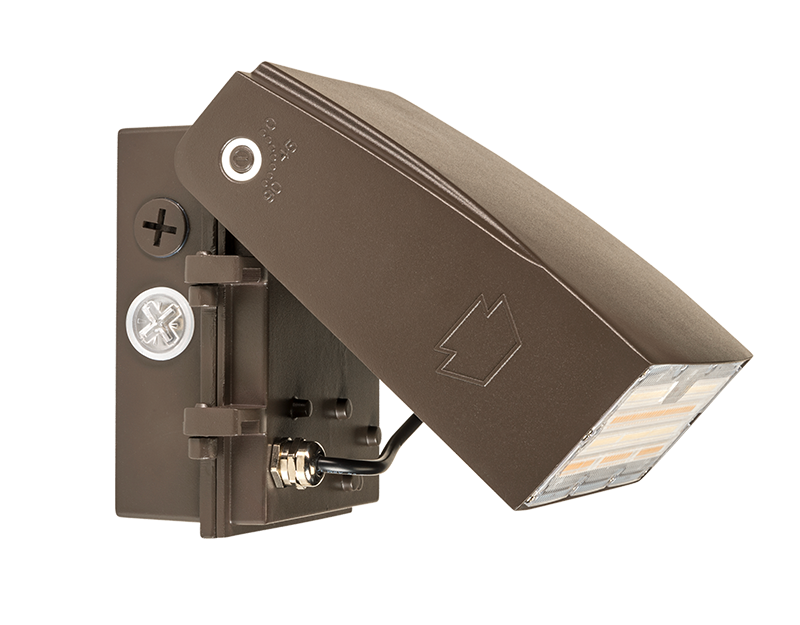
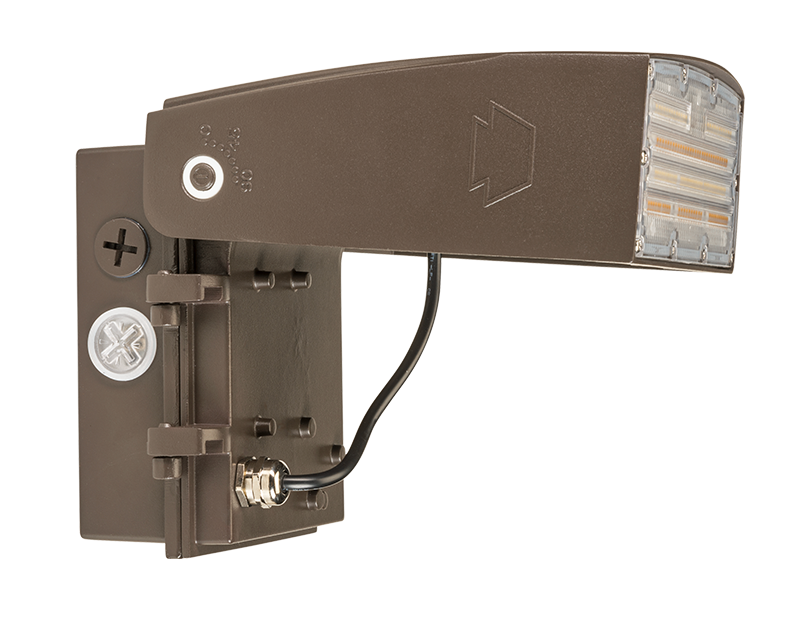
A wall pack that aims light exactly where you need it to: That’s the XFit Adjustable Wall Pack. Thanks to field-adjustable lamp positioning, it’s ideal for directing illumination where you want it. And with selectable technology, you can adjust it to meet your needs.
Field-adjustable flexibility
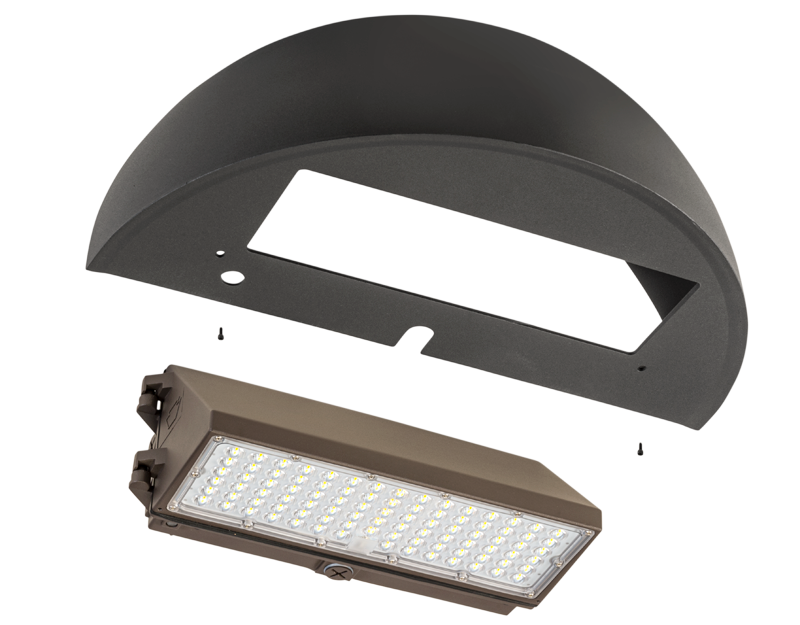
The XFit Adjustable Wall Pack features a movable, field-adjustable light that positions along a 0 ̊-90 ̊ axis to illuminate areas missed by traditional forward throw wall packs.
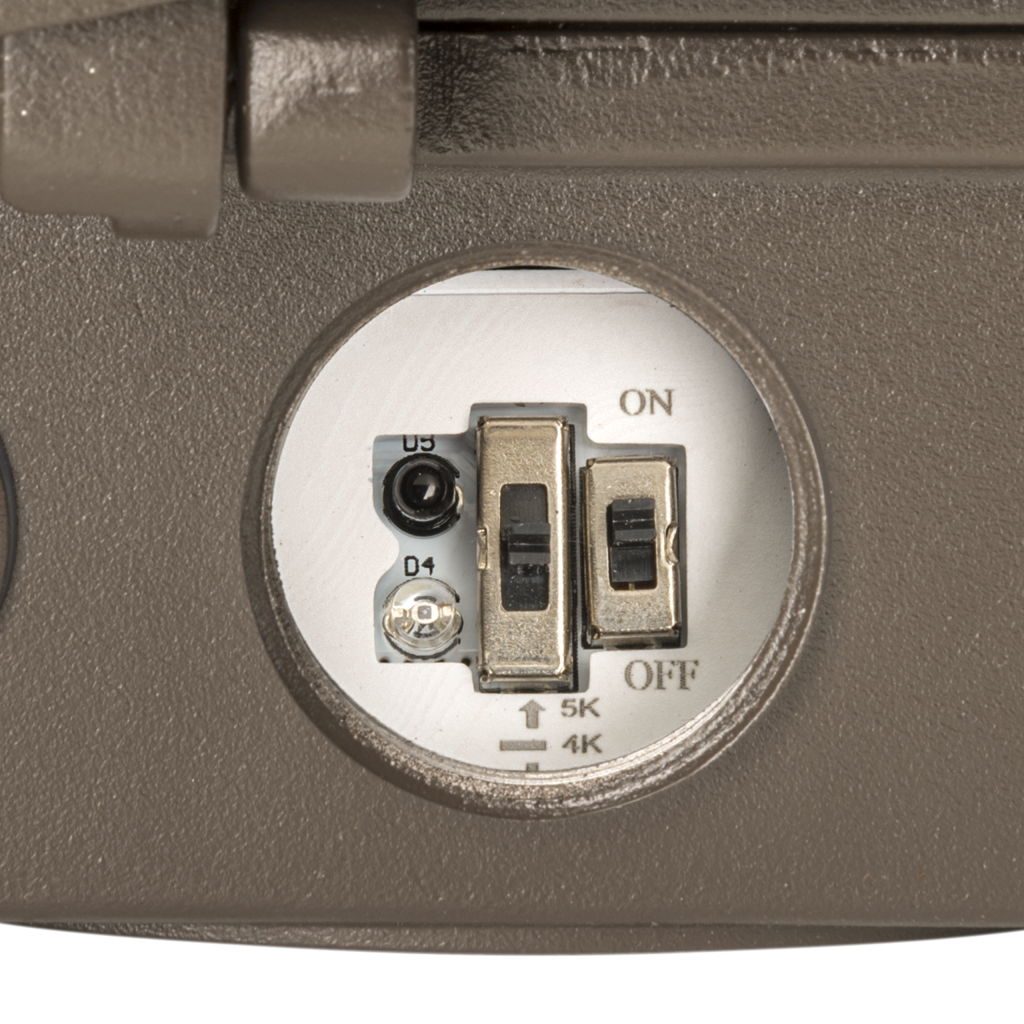
Power/Color Select and built-in photocell
With 3 power outputs and 3 color temperatures—all adjustable at the touch of a switch—you can pick the brightness and color temperature that meets your needs. It’s like 9 fixtures in 1, translating into fewer SKUs and greater versatility. A built-in photocell helps save energy by turning the light on only when darkness is sensed.
Serviceable Keystone LED driver
Energy savings and dependability—that’s Keystone. Our drivers are 100% end-of-line tested, rugged, and reliable. They feature 0-10V dimming and offer ample surge protection for increased versatility and durability. Need access? Just open the convenient compartment door.
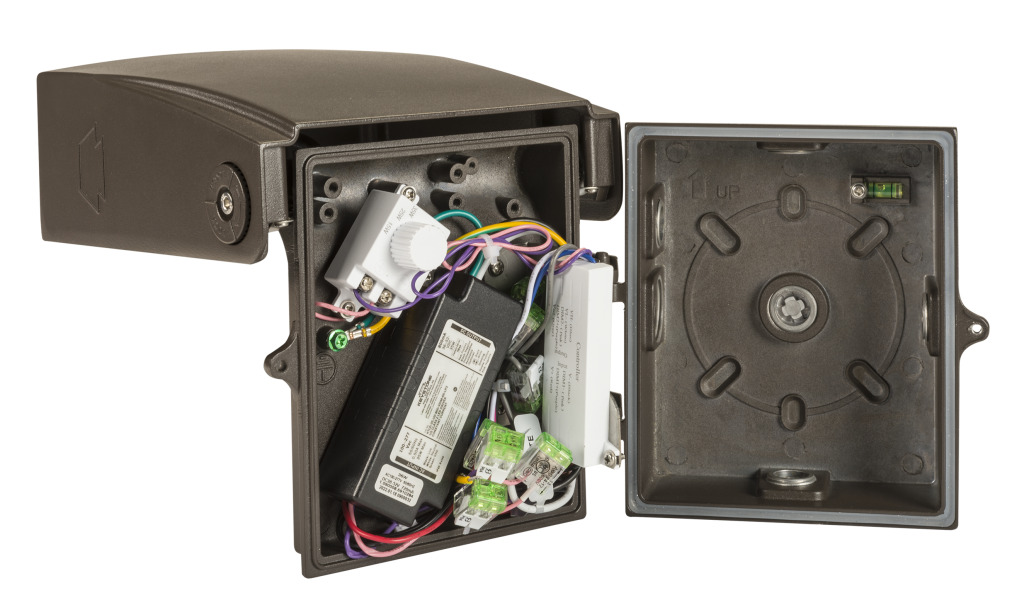

Rugged construction
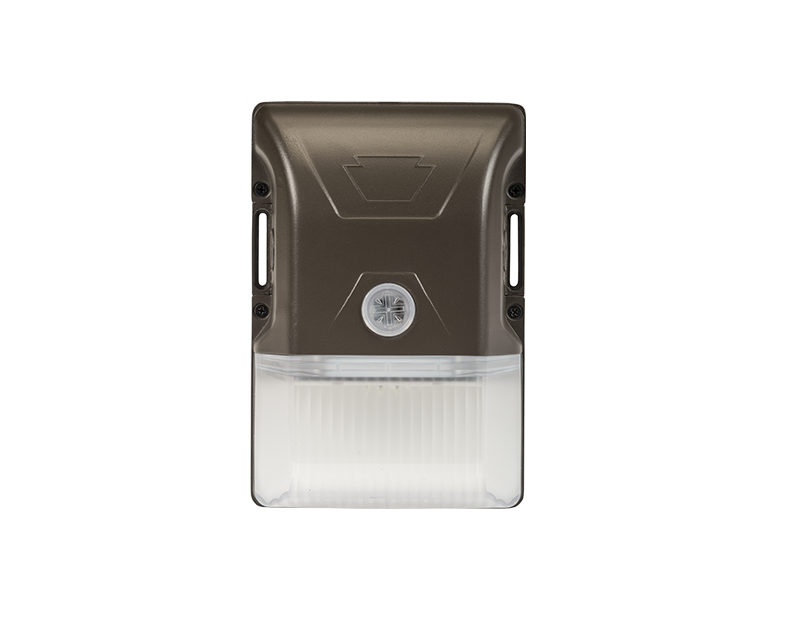
With a heavy-duty, die-cast aluminum housing, sturdy design, and IP65 rating, XFit wall packs are built to stand up to the elements, whether it’s wet, cold, or a scorching summer’s day. They’re built for the outdoors.
Full portfolio of wall packs
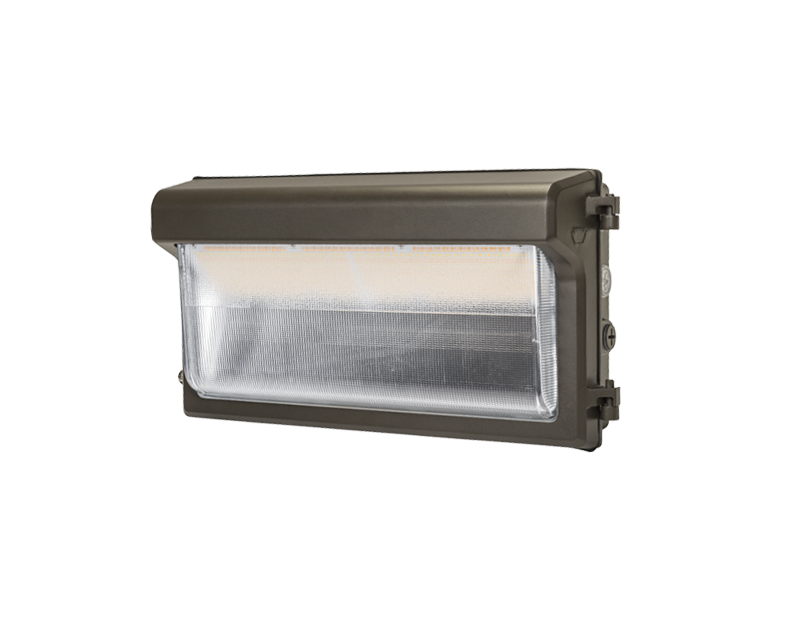
Looking for other wall pack options? Learn more about our traditional, full cutoff, and small low profile wall packs for a variety of applications.

Optimized light distribution
EXAMPLE: 35W Adjustable Wall Pack:
Building mounted 15′

Free lighting layouts
Keystone offers complimentary lighting layout services for our products.
Just offer us some project details and we’ll determine how many fixtures you need, what types of lamps are most appropriate, and how to save the maximum amount of energy, all within budget.
That’s Light Made Easy®.
